Installing Bathroom Grab Bars Safely
Where to place them, what hardware you need, and common mistakes to avoid. We've included step-by-step instructions.
Why Grab Bars Matter
Falls in the bathroom account for over 80% of nonfatal unintentional injuries in older adults. The slippery surfaces, unexpected obstacles, and loss of balance create a risky environment. But here's the thing — proper grab bar installation can cut fall risk dramatically.
It's not just about slapping bars on the wall. You'll need to know where they go, how they're anchored, and what type of hardware handles the actual weight. Get it right, and you've got a genuinely safer bathroom. Get it wrong, and you're just installing expensive decorations.
Strategic Placement: Where They Actually Go
You can't just put grab bars anywhere and hope for the best. There are specific zones where people need support, and those zones change depending on what they're doing.
Around the Toilet
Most people need support on both sides. Install bars 33 to 36 inches above the floor, running along the back wall and the side. The side bar should start about 12 inches from the wall and extend about 40 inches. We recommend stainless steel for moisture resistance — rust will weaken the installation over time.
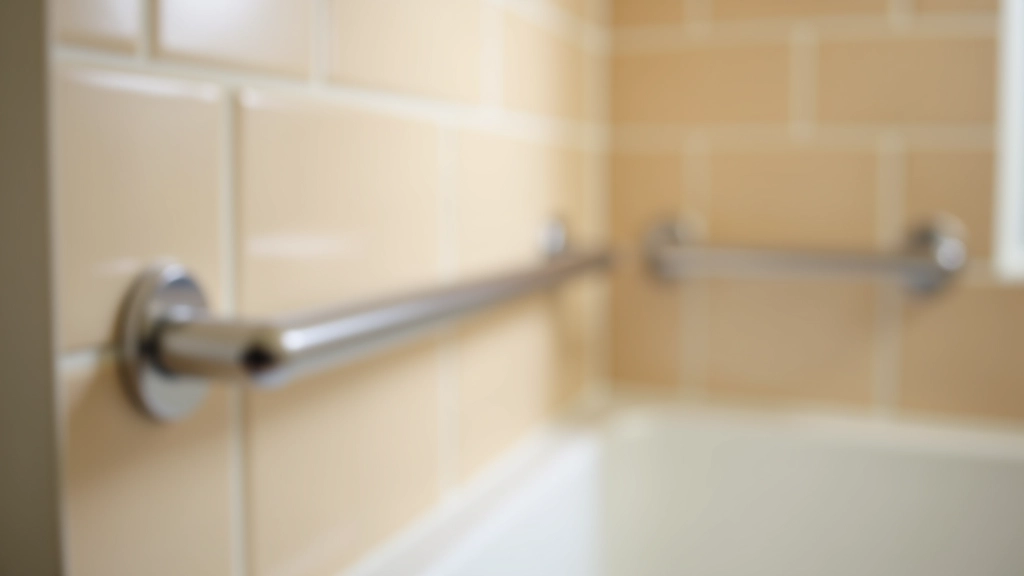
In the Shower or Tub
This is where most falls happen, so don't skimp here. One horizontal bar 33-36 inches up, and one vertical bar near the tub entry. The vertical bar helps people sit down and stand up safely. Space them so a person can reach both without twisting their torso.

The Hardware: What You Actually Need
This is where most DIY installations fail. People use the wrong anchors or undersized fasteners, and the bars eventually loosen or pull right out of the wall.
Wall Anchors
If you're mounting into tile or drywall (not studs), you'll need heavy-duty anchors rated for at least 250 pounds per fastener. Ordinary plastic anchors won't cut it. Toggle bolts work well, but they require drilling larger holes. Stud-mount fasteners are stronger if you can locate studs 16 inches on center.
Fasteners
Use stainless steel or coated screws. Rust spreads, and you don't want corrosion weakening your installation after 2-3 years. Most grab bars require 5/16-inch fasteners, but check your specific product. You'll typically need at least 2 fasteners per end, so minimum 4 fasteners per bar.
The Bar Itself
Stainless steel bars resist moisture better than chrome-plated steel. Diameter matters too — 1.25 inches is standard and fits most hands comfortably. Make sure the bar's rated for at least 300 pounds of force.
Installation Steps: Getting It Right
You don't need a contractor for this job, but you do need to be methodical. Rushing through measurement or using the wrong tools leads to loose bars and safety issues.
Locate the Studs
Use a stud finder to locate wall studs behind the tile or drywall. Mark them with painter's tape. If studs aren't positioned where you need the bar, you'll use heavy-duty anchors instead. Don't skip this step — it determines your fastening strategy.
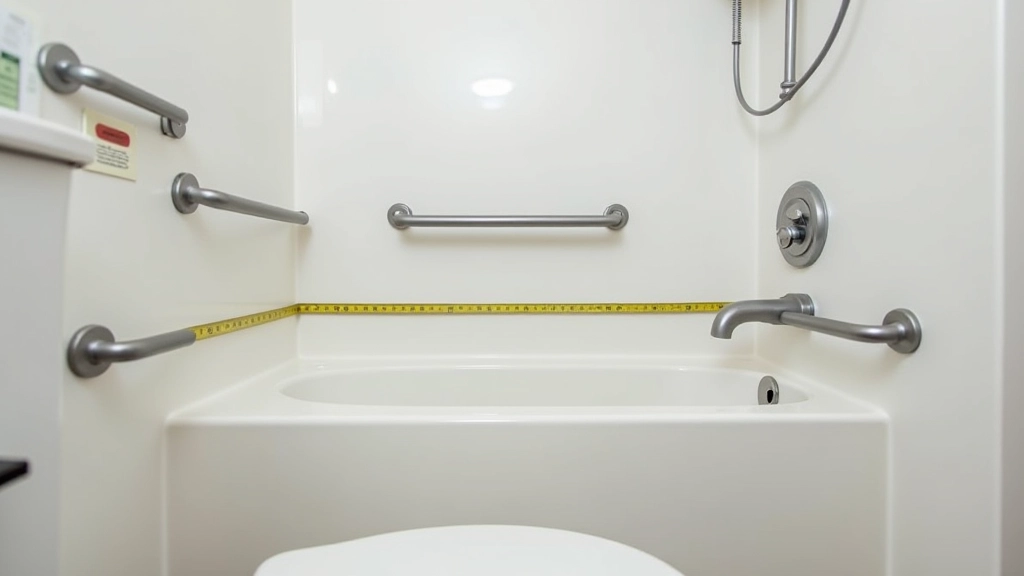
Mark the Holes
Hold the bar at the correct height and use a level to ensure it's truly horizontal. Mark the fastener holes with a pencil or marker. Step back and look — does it feel right? Is it where someone would naturally reach? Trust your instinct here.
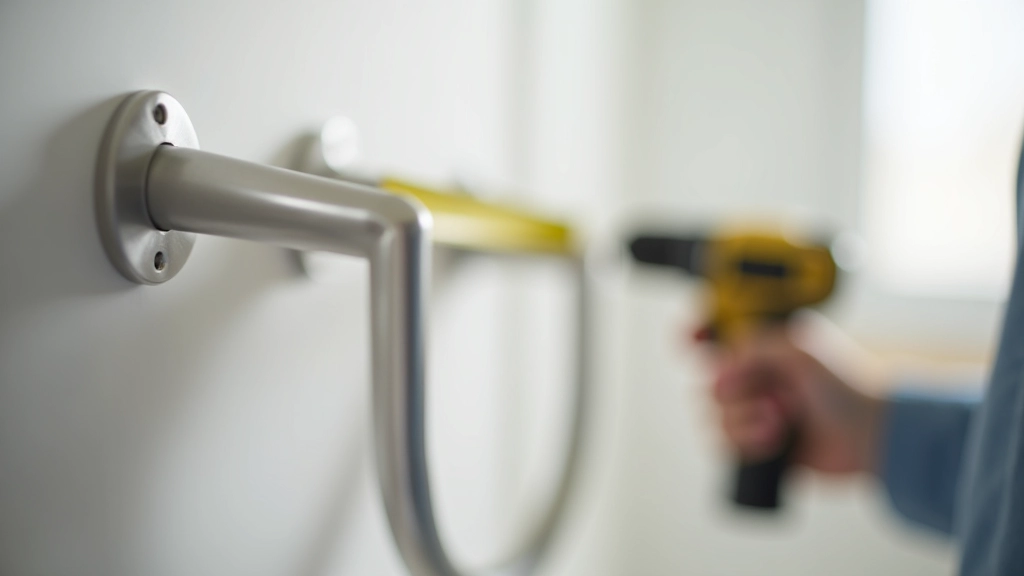
Drill the Holes
Use a drill bit sized for your fasteners. For tile, use a ceramic or diamond bit — regular bits will slip and damage the tile. Go slow and steady. If you're using anchors, drill the full depth. If mounting to studs, drill deep enough for the fastener to grab solid wood.
Install Anchors
If using toggle bolts or expansion anchors, install them according to the package instructions. They'll sit flush with the wall. This is where most people go wrong — they don't fully seat the anchors, leaving them loose. Push them all the way in.
Mount the Bar
Slide the bar onto the fasteners. Tighten the fasteners by hand first, then use a wrench. Don't over-tighten — you'll strip the threads or damage the bar. Tighten until snug, then stop. Test it by pulling firmly — it shouldn't budge.
Common Mistakes to Avoid
We've seen plenty of grab bar installations go sideways. Here's what not to do.
Using the Wrong Anchors
Plastic anchors rated for 50 pounds won't hold an adult in a fall. They'll spin out and fail. You need anchors rated for at least 250 pounds minimum. Toggle bolts and heavy-duty expansion anchors are your best bets for tile or drywall.
Improper Height
Too high and people can't reach. Too low and they're bending awkwardly. The standard 33-36 inches exists because it works for most people. Don't deviate unless you're installing for someone with specific height needs.
Skipping the Studs
Finding studs takes 5 minutes. Ignoring them and relying solely on anchors is risky. If you can mount to studs, do it. Your installation will be rock-solid and won't fail even under stress.
Rust-Prone Fasteners
Regular steel fasteners corrode in humid bathrooms. Within a few years, rust weakens the connection. Stainless steel or coated fasteners cost a bit more but last decades. It's worth the difference.
Mounting Only at One End
Some people drill holes at just one end to save time. This creates a lever that can twist and fail. Always secure both ends with at least 2 fasteners each.
Forgetting to Test
After installation, pull hard on the bar. Yank it. Put real force on it. If it shifts or flexes, something's wrong. Fix it now, not after someone's already relying on it.
Making Your Bathroom Safer
Bathroom grab bars aren't complicated, but they do require attention to detail. You're working with specific measurements, the right hardware, and a methodical installation process. When done correctly, you're genuinely reducing fall risk for someone who needs the support.
The investment is modest — a quality stainless steel bar with proper hardware costs $50-150 per bar. The peace of mind is invaluable. If you're unsure about any step, don't guess. Ask for advice or hire a professional. A loose grab bar is worse than no bar at all.
Need help with other home safety modifications? Check out our guides on accessible kitchen design and smart home monitoring systems.
Explore More Safety Resources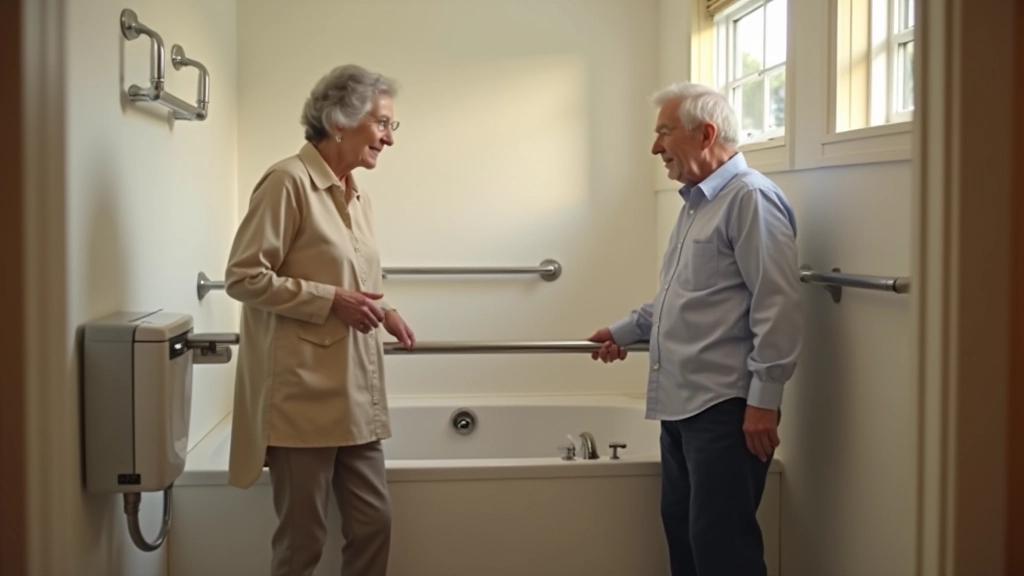
Important Information
This article is educational and informational in nature. Installation requirements vary based on your specific bathroom layout, wall construction, and local building codes. If you're unsure about any aspect of the installation process, consult with a licensed contractor or occupational therapist who specializes in aging-in-place modifications. Always follow manufacturer instructions for your specific grab bar product. Building codes in your area may have specific requirements for grab bar installation — check with your local building department before starting work.
Related Resources
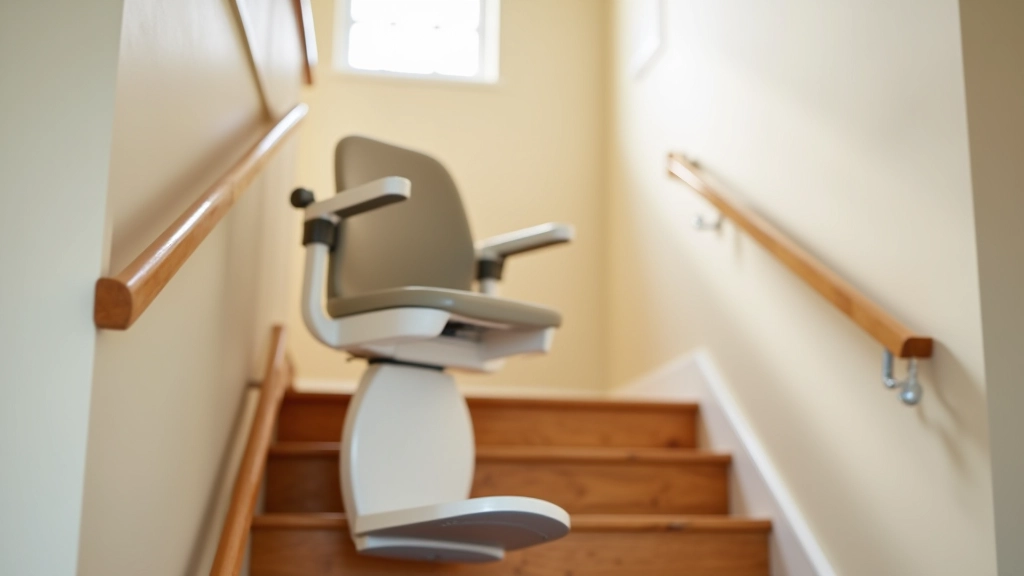
Understanding Stair Lifts: Options and Costs
Straight stair lifts, curved options, and what to expect during installation. Learn about maintenance and safety features.

Smart Home Monitoring Systems for Safety
Motion sensors, fall detection, and remote monitoring. See how smart technology supports aging in place.
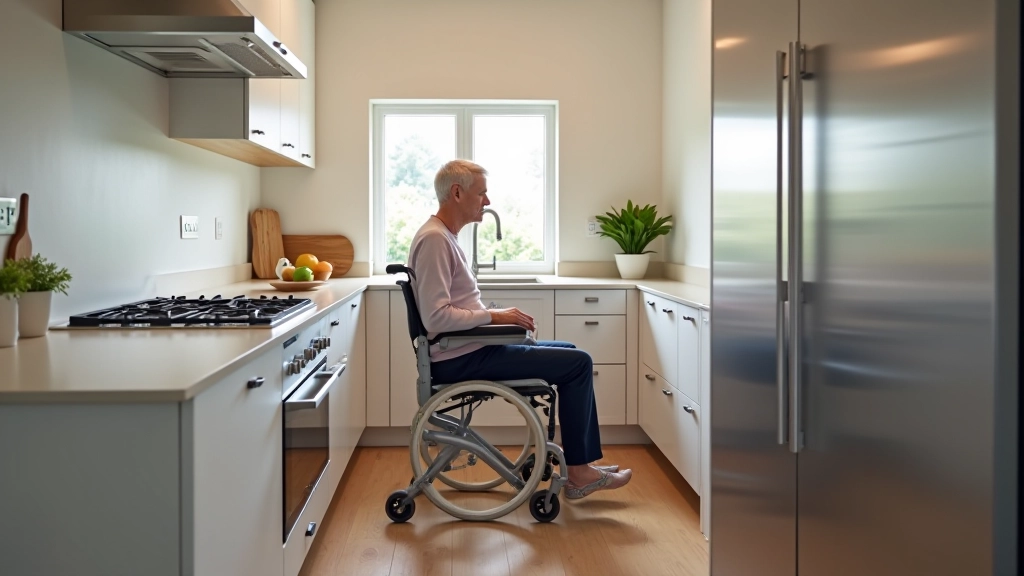
Designing an Accessible Kitchen for Aging
Counter heights, cabinet placement, and appliance selection that makes cooking easier and safer.