Designing an Accessible Kitchen for Aging
Counter heights, cabinet placement, and appliance selection that makes cooking easier and safer. Practical tips you can implement gradually.
Why Kitchen Accessibility Matters
The kitchen is where we spend time with family, prepare meals, and stay independent. But standard kitchen layouts weren't designed with aging in mind. Counters that are too high, cabinets out of reach, and appliances that require strength — they all add up. The good news? You don't need a complete renovation. Small, strategic changes can make your kitchen safer and more functional for everyone in your home.
We're talking about adjustments that cost anywhere from a few dollars to a few thousand. And you can tackle them one at a time. Start where you cook most, then work outward. That's how real accessibility happens — gradually, thoughtfully, fitting your life.

Counter Height: The Foundation
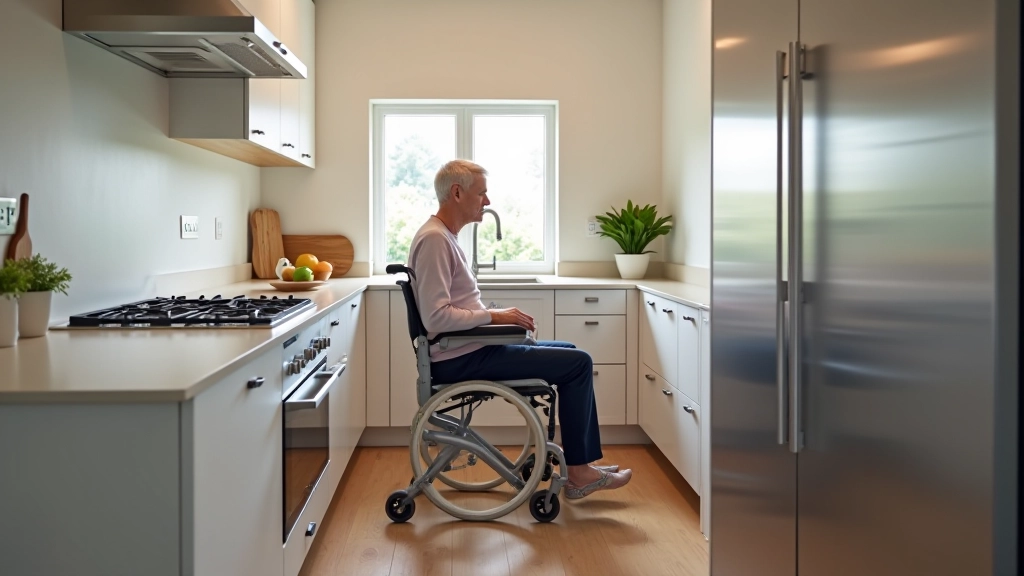
Standard kitchen counters are 36 inches high. That works fine if you're 5'8" or taller. But if you're shorter, using a wheelchair, or have back pain, that height becomes a problem. You're either reaching too high or bending too low — both cause strain.
The sweet spot? Somewhere between 30 and 36 inches. If you're doing a full kitchen remodel, aim for 34 inches. But here's the thing — you don't need to replace all your counters. Start with a prep area. A 30-inch counter dedicated to meal prep makes a huge difference. Mount it where you do most of your work. Add a sturdy stool if you like to sit while chopping. Many people don't realize how much this single change improves their cooking routine.
- 30 inches: Best for wheelchair users or seated prep work
- 32-34 inches: Works well for most people regardless of height
- 36 inches: Standard height, still usable with proper tools
- Varying heights: Create zones for different tasks
Cabinet and Shelf Organization
Here's what we hear all the time: "I can't reach my everyday dishes." That's a problem because then people stop using those items or worse — they try to climb or stretch dangerously. The golden zone for comfortable reaching? Between your waist and eye level. Anything below your knees or above your shoulders becomes difficult.
Install pull-out shelves inside cabinets. Seriously. They're one of the best investments you can make. Instead of reaching to the back of a deep cabinet, everything slides out to you. You'll see what you have, grab what you need, and put it back — all without contorting yourself. Lazy Susans work too for corner cabinets. They're inexpensive and you'll actually use that dead space.
Keep daily-use items at arm level. Spices, oils, plates, glasses — the things you reach for constantly. Less-used items can go higher or lower. This one change reduces reaching by half.
Appliance Selection and Placement
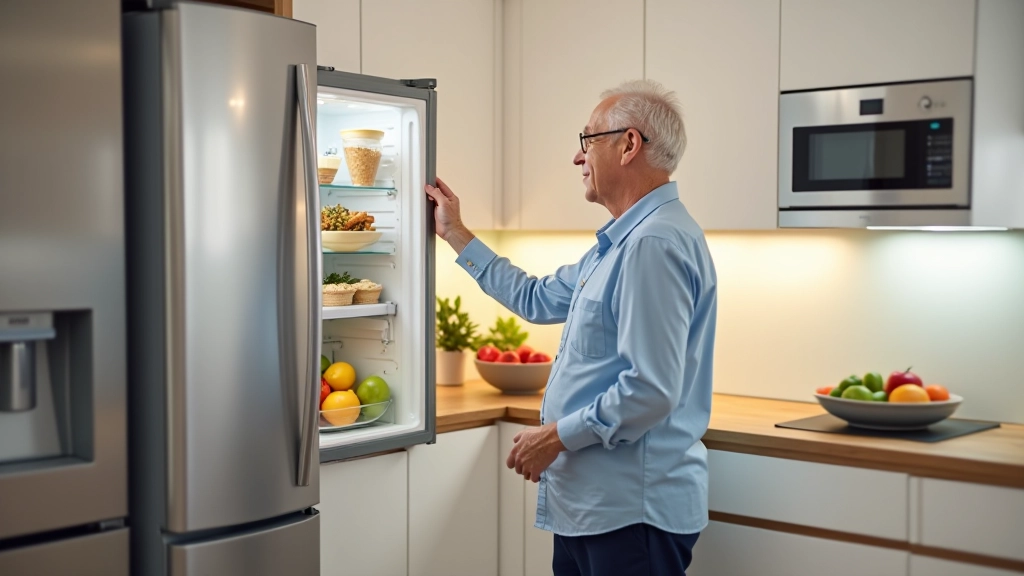
You don't need to buy all new appliances. But when something wears out, think strategically about its replacement. Front-loading washers and dryers? Better than top-loading if bending is difficult. A side-by-side refrigerator keeps frequently-used items at waist height instead of on the floor or way up top.
Microwave placement matters more than people think. Don't put it at standard cabinet height — that's eye-level or higher. Mount it at counter height, around 30-36 inches, so you're not reaching up with a hot plate or container. Wall-mounted models work well. You get the item in and out without strain.
Pro tip: Look for appliances with digital controls instead of knobs. They're easier to use if you have arthritis or hand strength issues. Touchpad ovens, for example, don't require twisting.
The sink is critical. A shallow basin — around 6 inches deep — is easier on your back than the standard 8-inch depth. And clearance underneath? Essential. Make sure someone can sit at the sink if needed. Remove the cabinet below, install a removable section, or choose a pedestal sink. It's about options.

Lighting and Floor Safety
Cooking in dim light isn't just inconvenient — it's dangerous. You'll miss spills, misjudge distances, and work slower. Upgrade your lighting. Task lighting under cabinets illuminates the counter where you're working. Pendant lights above islands provide general brightness. Aim for at least 500 lux of light over your prep areas — that's about three times brighter than standard kitchen lighting.
Your floor needs attention too. Tile, vinyl, or sealed concrete are better than hardwood for accessibility. They're easier to clean up spills from, and they provide better grip when wet. If you have hardwood, use anti-slip mats in high-traffic areas. Rugs? Skip them. They're trip hazards. We know they look nice, but safety wins here.
Keep pathways clear. Narrow aisles make cooking stressful, especially if you use a walker or cane. You want at least 36 inches of clear space between counters — 42 inches is better. This isn't just about comfort. It's about having room to move safely, turn around, and recover if you stumble.
Putting It All Together: A Practical Plan
Assess Your Kitchen
Spend a week cooking normally. Notice what's hard. Which cabinet do you reach for most? Where do you feel strain? That's your starting point.
Start Small
Install pull-out shelves in your most-used cabinet. Add under-cabinet lighting where you prep food. These changes cost $100-300 but make huge differences.
Improve Lighting
Upgrade overhead lights and add task lighting. You'll be amazed how much easier cooking becomes. This step takes a day and costs $150-500.
Plan Longer-Term Changes
When appliances need replacement, choose accessible models. If you're doing a renovation, make counter height a priority. Think years ahead, not just today.
Key Takeaways
- Counter height between 30-34 inches reduces strain and improves usability
- Pull-out shelves and Lazy Susans make storage accessible without reaching
- Keep daily-use items between waist and eye level
- Proper lighting prevents accidents and makes cooking safer
- Non-slip flooring and clear pathways reduce fall risk
- Start small with affordable changes, build over time
- Accessible design benefits everyone, not just older adults
You don't need to overhaul your entire kitchen to make it work better. Small, intentional changes add up. Start with what frustrates you most. Fix that. Then move to the next thing. That's how you build a kitchen that works for you — not against you.
Important Disclaimer
This article provides general information about kitchen accessibility modifications. It's educational in nature and not professional advice. Kitchen modifications should comply with local building codes and regulations. For major renovations or if you have specific mobility concerns, consult with an occupational therapist, contractor, or architect who specializes in accessible design. Safety standards vary by location, and what works in one home might need adjustment in another. Always prioritize safety and follow manufacturer guidelines for any installations or modifications.
Related Articles